How to Fix “No Internet, Secured” Error on Windows

Related Posts

Best Free Chrome Extensions for Productivity

How to Make Your Laptop Battery Last Longer
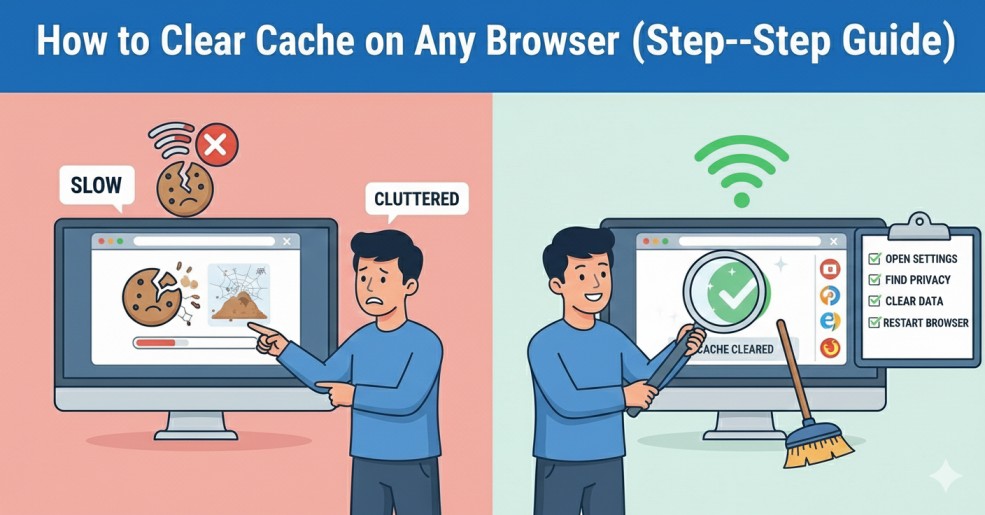
How to Clear Cache on Any Browser (Step-by-Step Guide)
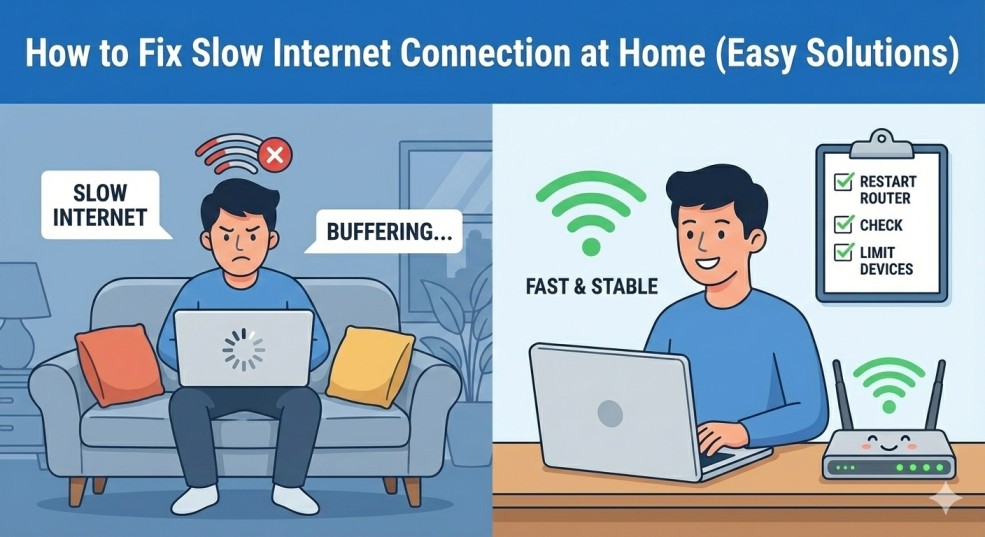
How to Fix Slow Internet Connection at Home (Easy Solutions)
Introduction
No Internet, Secured error on Windows appears when your computer connects to a Wi-Fi network successfully, but the internet does not work. You may see a Wi-Fi icon with a warning sign and no websites will load.
This issue is common on Windows 10 and Windows 11 and usually happens after a system update, network change, or router restart.
What Is the No Internet Secured Error?
Why Does the No Internet, Secured Error Occur?
The No Internet, Secured error on Windows can happen due to several reasons, including:
- Outdated or corrupted network drivers
- DNS configuration problems
- Incorrect IP address assignment
- Router or modem issues
- VPN or firewall interference
Fix 1: Restart the Network Adapter
Steps:
- Press Windows + R
- Type ncpa.cpl and press Enter
- Right-click your Wi-Fi adapter
- Click Disable
- Wait 10 seconds, then click Enable
Many users report this simple step fixes the No Internet, Secured error on Windows immediately.
Fix 2: Reset Network Settings in Windows
Steps:
- Open Settings
- Go to Network & Internet
- Click Advanced network settings
- Select Network reset
- Restart your computer
Fix 3: Update Network Drivers
Outdated drivers are one of the most common causes of the No Internet, Secured error on Windows.
Steps:
- Press Windows + X
- Select Device Manager
- Expand Network adapters
- Right-click your Wi-Fi driver
- Click Update driver
- If Windows cannot find updates, visit your laptop manufacturer’s website.
👉 Official guide links:
Fix 4: Flush DNS and Renew IP Address
Flushing DNS removes corrupted network records.
Steps:
- Open Command Prompt as Administrator
- Type the following commands one by one:
- ipconfig /flushdns
- ipconfig /release
- ipconfig /renew
- Restart your PC
- This method often resolves stubborn No Internet, Secured error on Windows cases.
Fix 5: Change DNS Server Manually
Recommended DNS:
- Google DNS: 8.8.8.8 and 8.8.4.4
- Google DNS: 8.8.4.4
Fix 6: Restart Router and Modem
- Turn off router and modem
- Wait 30 seconds
- Turn them back on
Fix 7: Disable VPN or Firewall Temporarily
- Disable VPN
- Temporarily turn off firewall
- Check if internet works
How to Prevent No Internet, Secured Error in the Future
To avoid the No Internet, Secured error on Windows, follow these tips:
- Keep Windows updated
- Update network drivers regularly
- Avoid unreliable VPN software
- Restart router weekly
- Use trusted DNS servers
👉 Official guide links:
Final Thoughts
The No Internet, Secured error on Windows can be annoying, but it is usually easy to fix. In most cases, updating drivers, resetting network settings, or flushing DNS solves the problem quickly.
If the issue keeps returning, it may indicate router or ISP problems. Checking with your internet provider can help.